With Easter just around the corner, we thought we would get creative and make our very own DIY Dried Flower Bunny Ears with a matching basket. The bunny ears will add a little cuteness to your children's egg hunt outfits or are even the perfect accessory for your flower girl if you're having an Easter or spring themed wedding.
This simple and pretty DIY can be enjoyed with both your children and friends in just 4 easy steps…

Materials you will need
- A headband
- Wire – To make your ears
- Hessian to wrap around the ears (or however you want to style them)
- Floristry tape
- Scissors
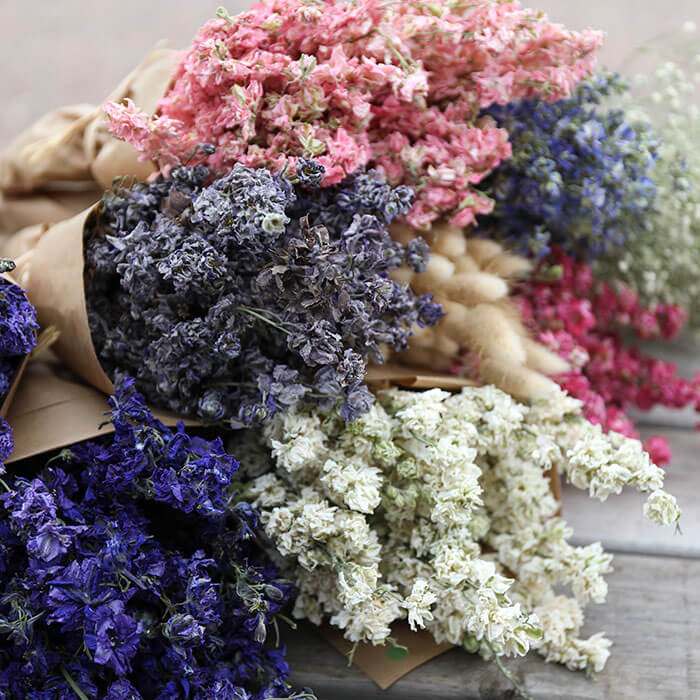
- A selection of dried flowers, any flowers can be used to suit your colour scheme. You do not need a lot for this DIY but to add a good variety of colour we would advise to order variety of bunches. You could do this with friends and choose a bunch each or save the rest to display around the house which will last all year long too!
- A little wicker basket
- Ribbon or a bow for your basket
- Mini Eggs (for eating whilst crafting of course!)

Step 1 - Create Bunny Ears
Now that you have all your materials ready, we can get our creative juices flowing.
Cut your wire to the length you want your ears to be, remember if you cut it too long you can adjust this as you will want enough to wrap around the headband to secure your ears. (You want them to be sturdy!)

Step 2 - Wrap Bunny Ears in Hessian
Once both ears are in place it is time to dress them up.
Start by wrapping the hessian around the wire, ensure you wrap a little around the base to begin with to hold it in place. When you reach the end you can secure this to the headband using the wire you have left over from the ears.

Step 3 - Arrange the Dried Flowers
Separate your bunches so that you have single stems to work with. Cut down your dried flower stems so that you are not having to tackle too much. (This will make it much easier for you)
Begin arranging your flowers so that they look pretty, once you are happy with them use the floristry tape to wrap around the stems keeping them together. This will also build structure to your mini arrangement. (The sturdier you can make it the better once those little hands start playing with it!)

Once you have made enough to fit half of the headband (to cover just over one ear) attach this using the same method as above with the floristry tape.
Repeat this step across the top of the headband doing smaller arrangements as this will give more structure to your finished piece and is much less fiddley. Do not worry if you want to amend your finished product the floristry tape is so easy to use that you can add extra stems in as you desire.

Step 4 - Create a Matching Basket (Optional extra)
We loved making our headband so much that we wanted to add a matching basket too! You too can create this by using one of our Flower Girl Baskets and then use the same method as step three. Simply attach your flowers to the basket using some of your left-over wire.
Why not try adding a pretty bow for a super cute finishing touch.

We absolutely love the end result of our DIY Bunny ears and Easter basket. We think Scarlett agrees (just look at the smile on her face!) One very excitable little girl ready to go hunting for some eggs.

This DIY has been created using a range of our pretty pink and purple dried flowers with hints of yellow for a pop of spring colour.
If you want to create this look you can do so by using our Lilac and White Statice, Cherry Blossom and Candy Floss Delphiniums, add those hints of yellow using bunches such as our Lona and Craspedia (Billy Buttons), for that rustic feel we added some Bearded Wheat too.
Oh and it wouldn't be Easter without our Lagurus also known as bunny tails!

If a more neutral palette is more your thing, then you can opt for our Icing Sugar Delphiniums, Lagurus, Wheat and White Statice.
We would love to see you finished master pieces, so don't forget to tag us on social or send in your photographs to enquiries@shropshirepetals.com
Have a wonderful Easter!
Love SP xx
